
Recently, I stumbled upon a tool called AssemblyAI, which implements some APIs for speech recognition and analysis. I’ve decided to try it in order to create a small voice diary using Telegram, Python and Notion.
What is a voice diary?
The tool I’m about to create is a voice diary, that is a document with notes that have been transcribed starting from voice notes. It can be really useful if you are busy and don’t have time to write text on your phone and want to take some notes on the fly just recording your voice.
There are several ways to do such a task. There are some applications that allow you to transcribe your voice into text, but a really useful tool I found is AssemblyAI. This tech company has created some speech recognition tools that allow you to do several things with a spoken text, like sentiment analysis and transcription. I’ve given it a try and the result really amazed me. Their speech-to-text engine is even able to infer punctuation, which has always been a hard task for most of the speech-to-text engines out there.
In this article, I’ll show you how to create a simple voice diary using the free version of AssemblyAI API.
Architecture
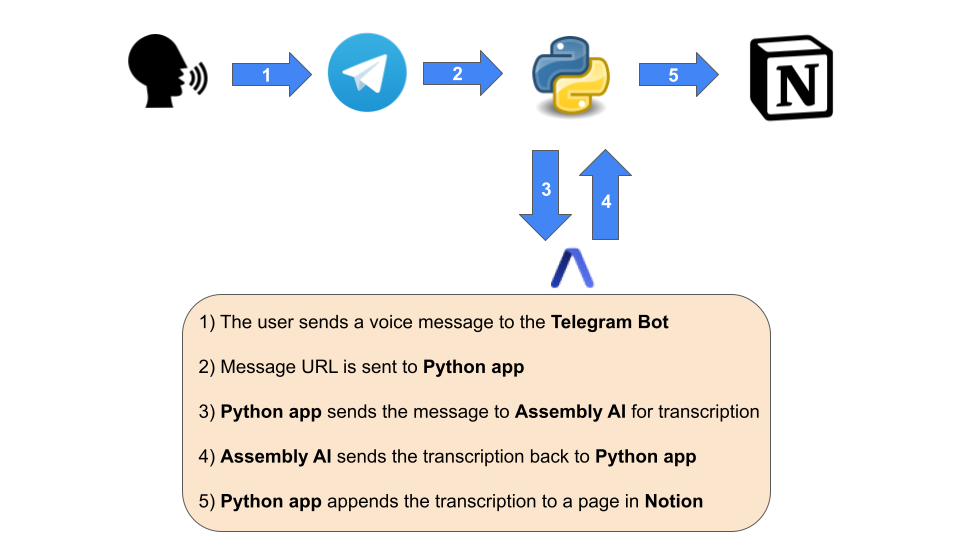
This application starts with the user sending a voice message to a Telegram bot. This message is then transcribed using AssemblyAI API and the transcription is then appended to a Notion document. Everything is orchestrated using a Python application created using Flask and hosted on Heroku (or whichever app hosting platform you prefer).
Here’s the complete architecture:
Telegram bots are very powerful for this kind of task, as they are able to deal with several data types sent by the user. Telegram API is very straightforward to use and a Python interface is pretty easy to implement. Notion is a very useful tool for creating complex documents and simple databases and it has an easy API too.
So, mixing all together, we have the necessary ingredients to create our customized voice diary.
Let’s start, then.
Telegram bot configuration
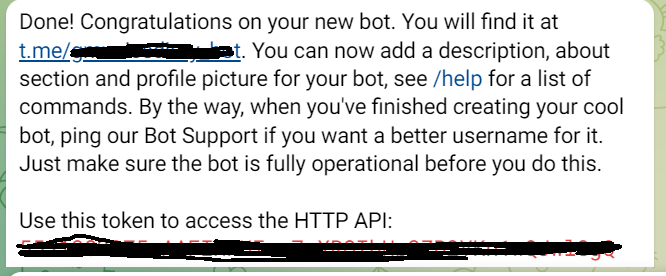
First of all, we have to create a new Telegram bot. We first need to open a chat with @botfather user and send the “/newbot” command. Let’s give the bot a friendly name and a username and save the API key returned after this message.
Get AssemblyAI API key
Create a free account on assemblyai.com. Then login and you’ll see the API key under the “Developers” menu.
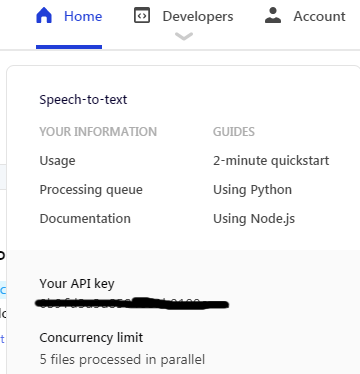
Save this API key somewhere, because it will be useful later.
Notion configuration and API key
Now we need an API key for Notion as well. Let’s go to notion.so/my-integrations and click on “New Integration”.
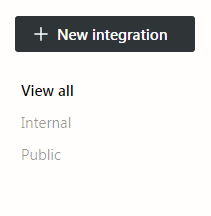
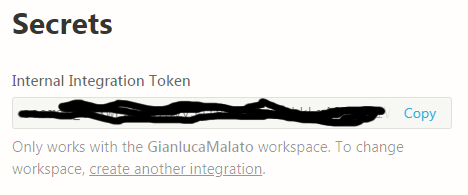
Give the integration a name (like “My Voice Diary”) and click on “Submit”. Then click on “Show” and copy the API key. Save it somewhere, because we’ll need it later.
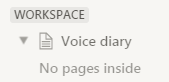
Now, go to your workspace and create a new page called, for example, “Voice Diary”.
Open it and get the final part of the URL:

In this example, it’s 158ebf4b5af04d54bad6044e27396a28. This is the page ID we’re going to use.
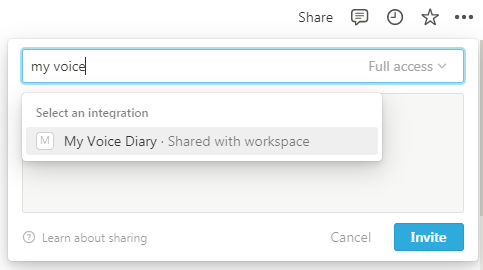
Finally, we need to make this page visible to our integration, so click on “Share” and type the name of your integration. Select it from the dropdown menu and click on “Invite”.
Python web application
Let’s now write the core of our application. As I said before, it’s a Python web application created using Flask framework and deployed on Heroku.
As always suggested in these situations, we’d better save confidential data like API keys on some environment variables rather than hard-coding them inside the script. This allows us to share the code without sharing the API keys. We’re going to config the environment variables later.
We’re now going to see all the steps of the code, but you can find the whole application on my GitHub repo here: https://github.com/gianlucamalato/voicediary/blob/main/app.py
Let’s first import some libraries and import the environment variables.
from flask import Flask, request
import requests
from  datetime import datetime
import time
import os
import urllib.parse


bot_token = os.environ.get("bot_token")
allowed_username = os.environ.get("allowed_username")
assemblyai_api_key = os.environ.get("assemblyai_api_key")
notion_api_key = os.environ.get("notion_api_key")
notion_block_id = os.environ.get("notion_block_id")
Let’s now define the application instance.
app = Flask(__name__)Now, it’s time to develop the function that is called by Telegram as soon as a user sends a message.
Let’s first define the endpoint “/telegram/”:
@app.route("/telegram/",methods = ['POST'])
def telegram_message():
    # Get the message JSON from Telegram
    msg = request.get_json()
The msg variable is a Python dictionary that contains the JSON request sent by Telegram.
Let’s first check if it is a voice message.
# Check if it is a voice message
if 'voice' not in msg['message'].keys():
    return 'No voice message'
In order to prevent other people use your bot, let’s check if the message has been sent by an allowed username. It will be used as the value of a proper environment variable.
# Check if it has been sent from an allowed user
if msg['message']['from']['username'] != allowed_username:
	return 'User not allowed'
Let’s now take the public URL of the audio file of the voice message:
# Get Telegram voice message file id
file_id = msg['message']['voice']['file_id']

# Get public URL file id
url = f"https://api.telegram.org/bot{bot_token}/getFile?file_id={file_id}"

# Get Telegram file path
telegram_filepath =  requests.get(url).json()['result']['file_path']

# Telegram voice message public URL
audio_url = f'https://api.telegram.org/file/bot{bot_token}/{telegram_filepath}'
Now, we have to send this URL to AssemblyAI for the transcription.
transcript_endpoint = "https://api.assemblyai.com/v2/transcript"
polling_endpoint = "https://api.assemblyai.com/v2/transcript/"

header = {
	'authorization': assemblyai_api_key,
	'content-type': 'application/json'
}

transcript_request = {
		'audio_url': audio_url
}

# Send voice message to Assembly AI
transcript_response = requests.post(
	transcript_endpoint,
	json=transcript_request,
	headers=header
)
AssemblyAI takes a few seconds to process the audio. We can set a webhook in order to let AssemblyAI tell us when the transcription is ready or we can make a polling every 3 seconds asking AssemblyAI whether the transcription is ready. We’re going to follow the latter, for simplicity.
# Wait for transcript completion
while True:
	print("Polling...")
	polling_response = requests.get(polling_endpoint + transcript_response.json()['id'], headers=header)
	polling_response = polling_response.json()
	if polling_response['status'] == 'completed':
		break

	time.sleep(3)

transcribed_text = polling_response['text']
Now, we’re ready to append the transcribed text to our notion.so page.
# Add to notion page
ts = datetime.now().strftime("%Y-%m-%d %H:%M:%S")

url = f"https://api.notion.com/v1/blocks/{notion_block_id}/children"

headers = {
	"Accept": "application/json",
	"Notion-Version": "2022-06-28",
	"Content-Type": "application/json",
	"Authorization": f"Bearer {notion_api_key}"
}


payload = {'children':[
	{"type": "heading_1","heading_1":{"rich_text": [{"type": "text","text": {"content": ts}}]}},
	{
	"type": "paragraph",
	"paragraph": {
			"rich_text": [

				{"type": "text","text": {"content": transcribed_text.strip()},
					'annotations':{'bold':False}},
						],
			"color": "default",
		}
		},
	{'type':'divider','divider':{}}
]}

# Add the transcribed message to Notion page
response = requests.patch(url, headers=headers, json=payload)
Now, we can send a message to the user telling the status of the processing.
chat_id = msg['message']['chat']['id']
params = {'chat_id': chat_id}

# Send a Telegram message with the status
if response.status_code == 200:
	params['text'] = 'Message added to the diary'
else:
	params['text'] = 'Error adding message to the diary'

url = f"https://api.telegram.org/bot{bot_token}/sendMessage?" + urllib.parse.urlencode(params)
requests.get(url)

return "OK"
Deployment on Heroku
Now, we can create a new app on Heroku. Give your app a unique name, then go to “Settings” and to “Config Vars”.
Click on “Reveal Config Vars” and add the following environment variables:
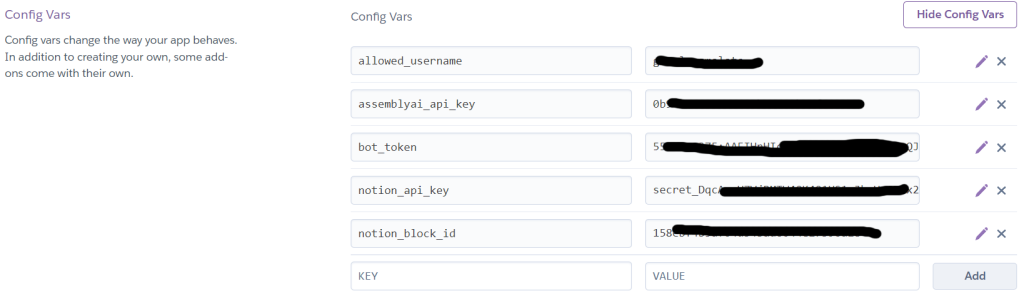
The “allowed_username” variable contains your Telegram username. This prevents anybody else from writing messages to your bot, even accidentally. The “notion_block_id” environment variable is the page id of your notion.so page.
Be sure to use the same names as in Python code, otherwise the app won’t work.
Now, we can create a GitHub repository with the following files:
- app.py
- Procfile
- requirements.txt
- runtime.txt
The “app.py” file is the one we created earlier.
The “Procfile” file has this content:
web: gunicorn app:appThe “requirements.txt” file has this content:
Flask
gunicorn
requests
Finally, the “runtime.txt” file has this content:
python-3.8.5
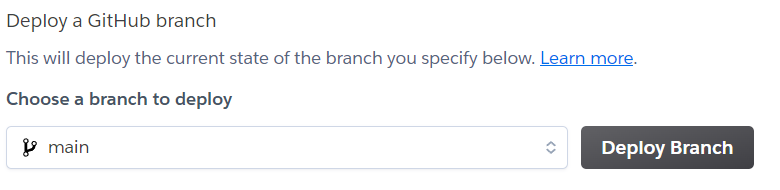
You can now connect your GitHub repository to the Heroku app. Just go to the “Deploy” section of the dashboard and connect the app to Github following all the authorization steps.

Deploy your main branch (or enable auto-deploy) and, after a few seconds, the application will be up and running.
Set a Telegram webhook
Now, it’s time to tell Telegram that whichever message a user sends to the bot must be sent to our application. The endpoint of our webhook is “https://<app_name>.herokuapp.com/telegram/”. If you aren’t sure about it, right-click on the “Open app” button in the Heroku dashboard and copy the link. Don’t forget to add “/telegram/” at the end of the URL.
Finally, open a browser and go to this website:
https://api.telegram.org/bot<bot_token_here>/setWebhook?url=https://<app_name>.herokuapp.com/telegram/You should see a JSON response with “ok” = True.
Let’s try it!
After a lot of coding and configuring, our application is ready to be used.
Open a chat with your bot and simply send a voice message like, for example: “This is a test for my voice diary. If you can read this text, then it actually works.”.
Message processing may take some seconds, but at the end, you’ll receive the “Message added to the diary” confirmation.

Let’s go to Notion and see the magic that happened.
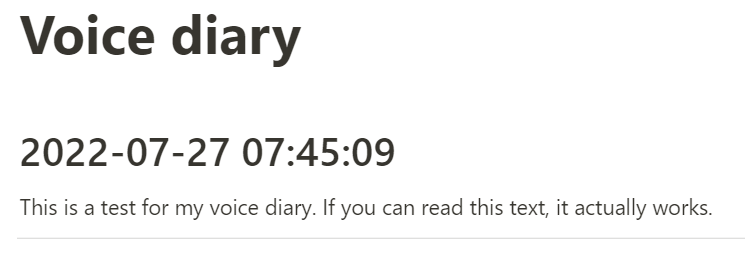
As you can see, AssemblyAI has been able to add the correct punctuation. Now, whichever voice message you (and only you, thanks to the “allowed_username” environment variable) send to the bot will be transcribed and added to this page.
Conclusions
In this article, I’ve given a brief example of how to create a simple voice diary using AssemblyAI, Telegram, Python and Notion, all orchestrated by a Heroku backend. Such a microservices approach is pretty common and can make us create complex applications by connecting them to each other. Of course, you’ll be able to change the Notion page by changing the page id in the Config Var section of Heroku, if you want. Just remember to share the new page again with the Integration.